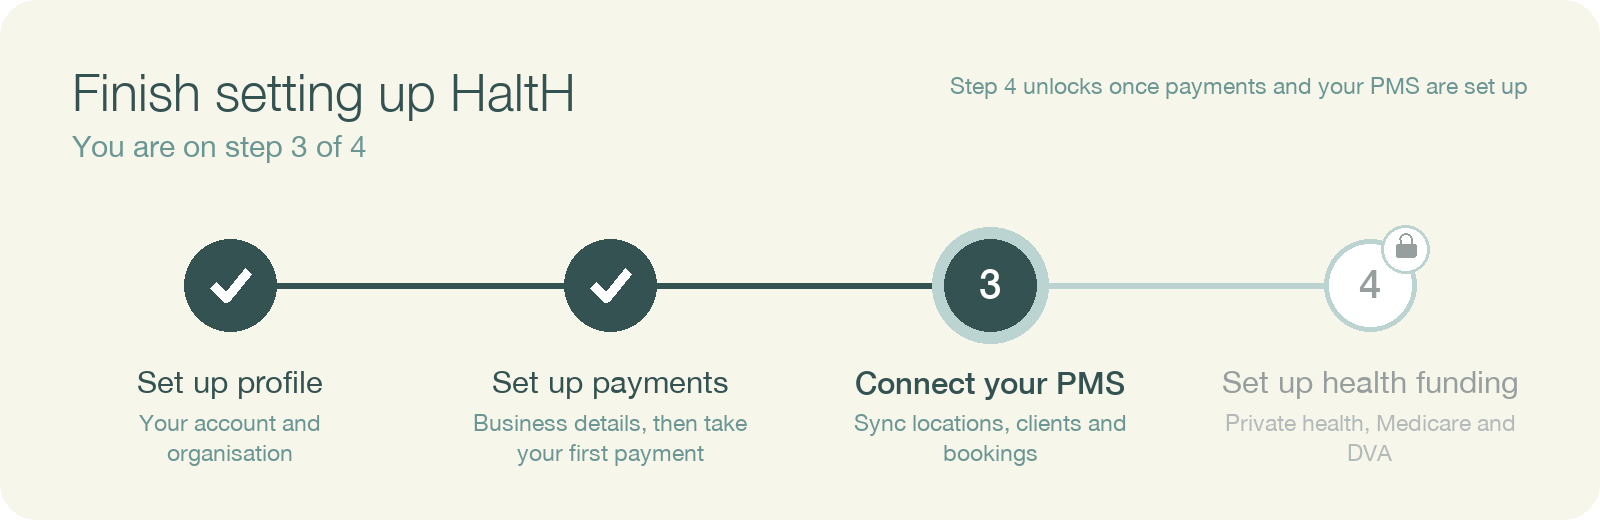
Connecting your practice management software (PMS) brings your locations, clients and appointments into HaltH. You'll stop double-entering appointments, get a HaltH booking link, and be able to reconcile payments without typing anything in. It also unlocks Step 4, health funding.
HaltH connects directly to Cliniko, Nookal and PracSuite.
Use Splose, Halaxy, Zanda, Coreplus, Zedmed or something else? Pick it from the list and we'll let you know when it's live. In the meantime you can still take payments with HaltH Extend, but appointments won't sync and health funding isn't available until your PMS is connected.
You'll need a login to your PMS that can create an API key.
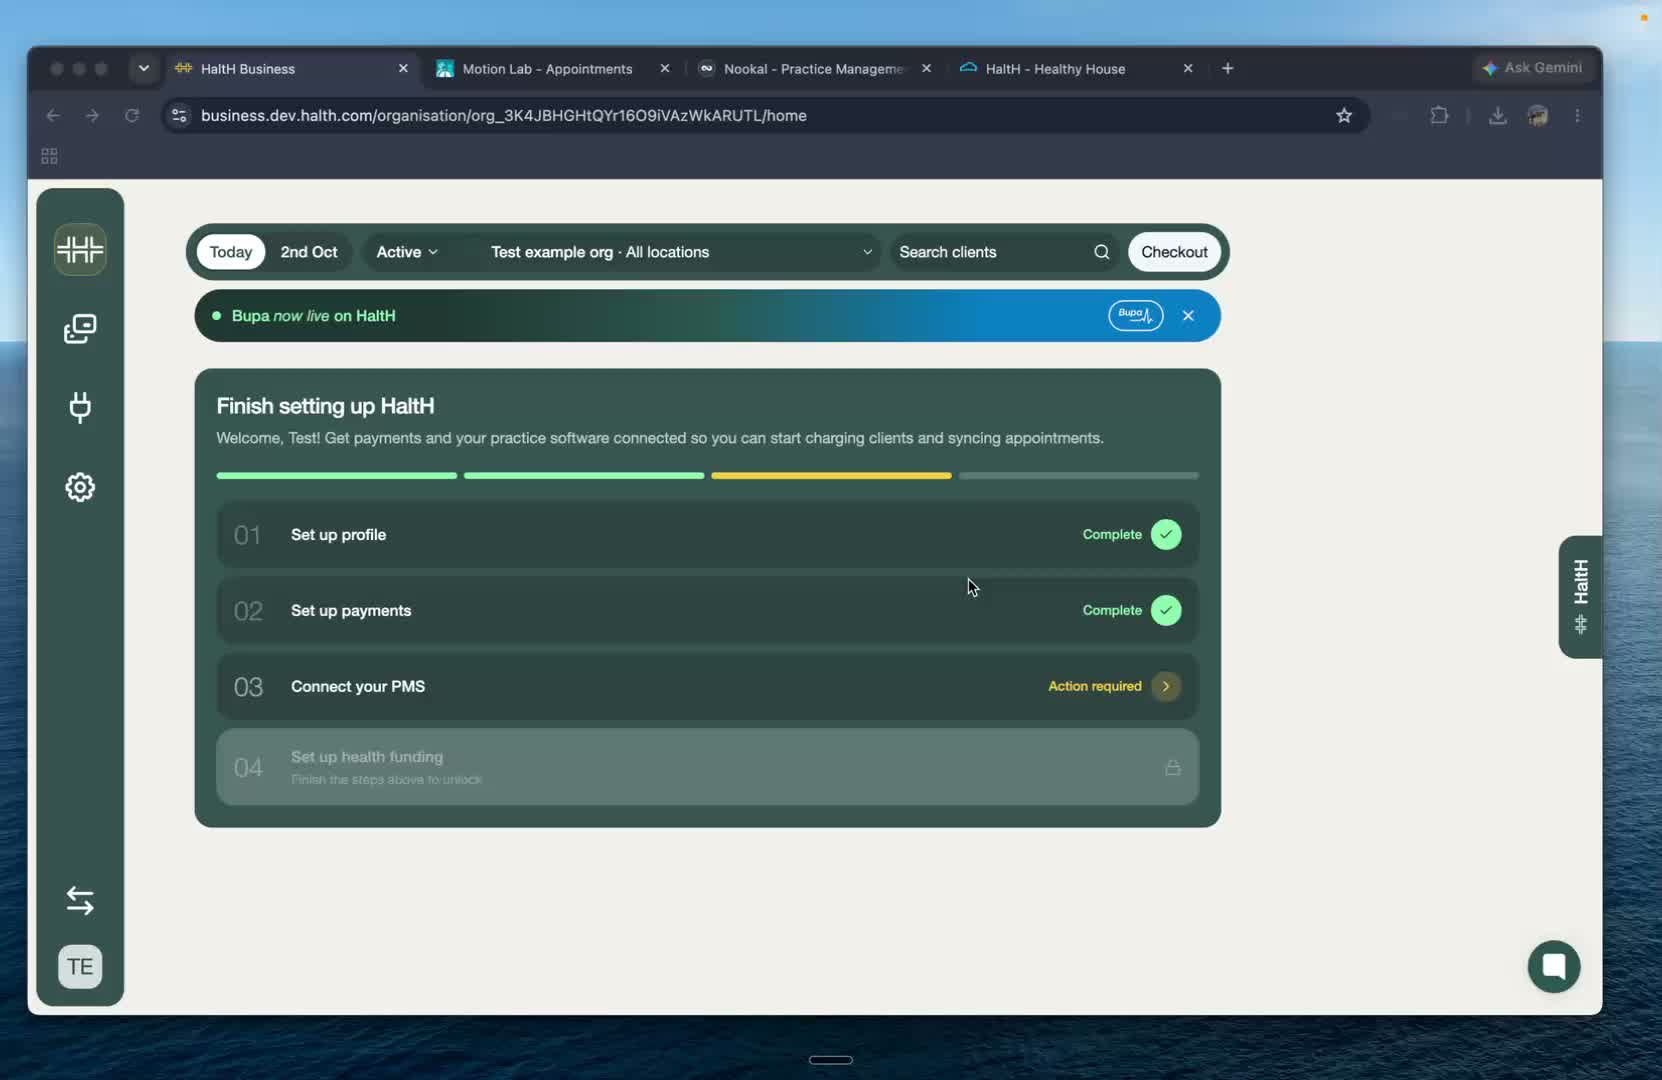
On Home, under Finish setting up HaltH, select Connect your PMS.
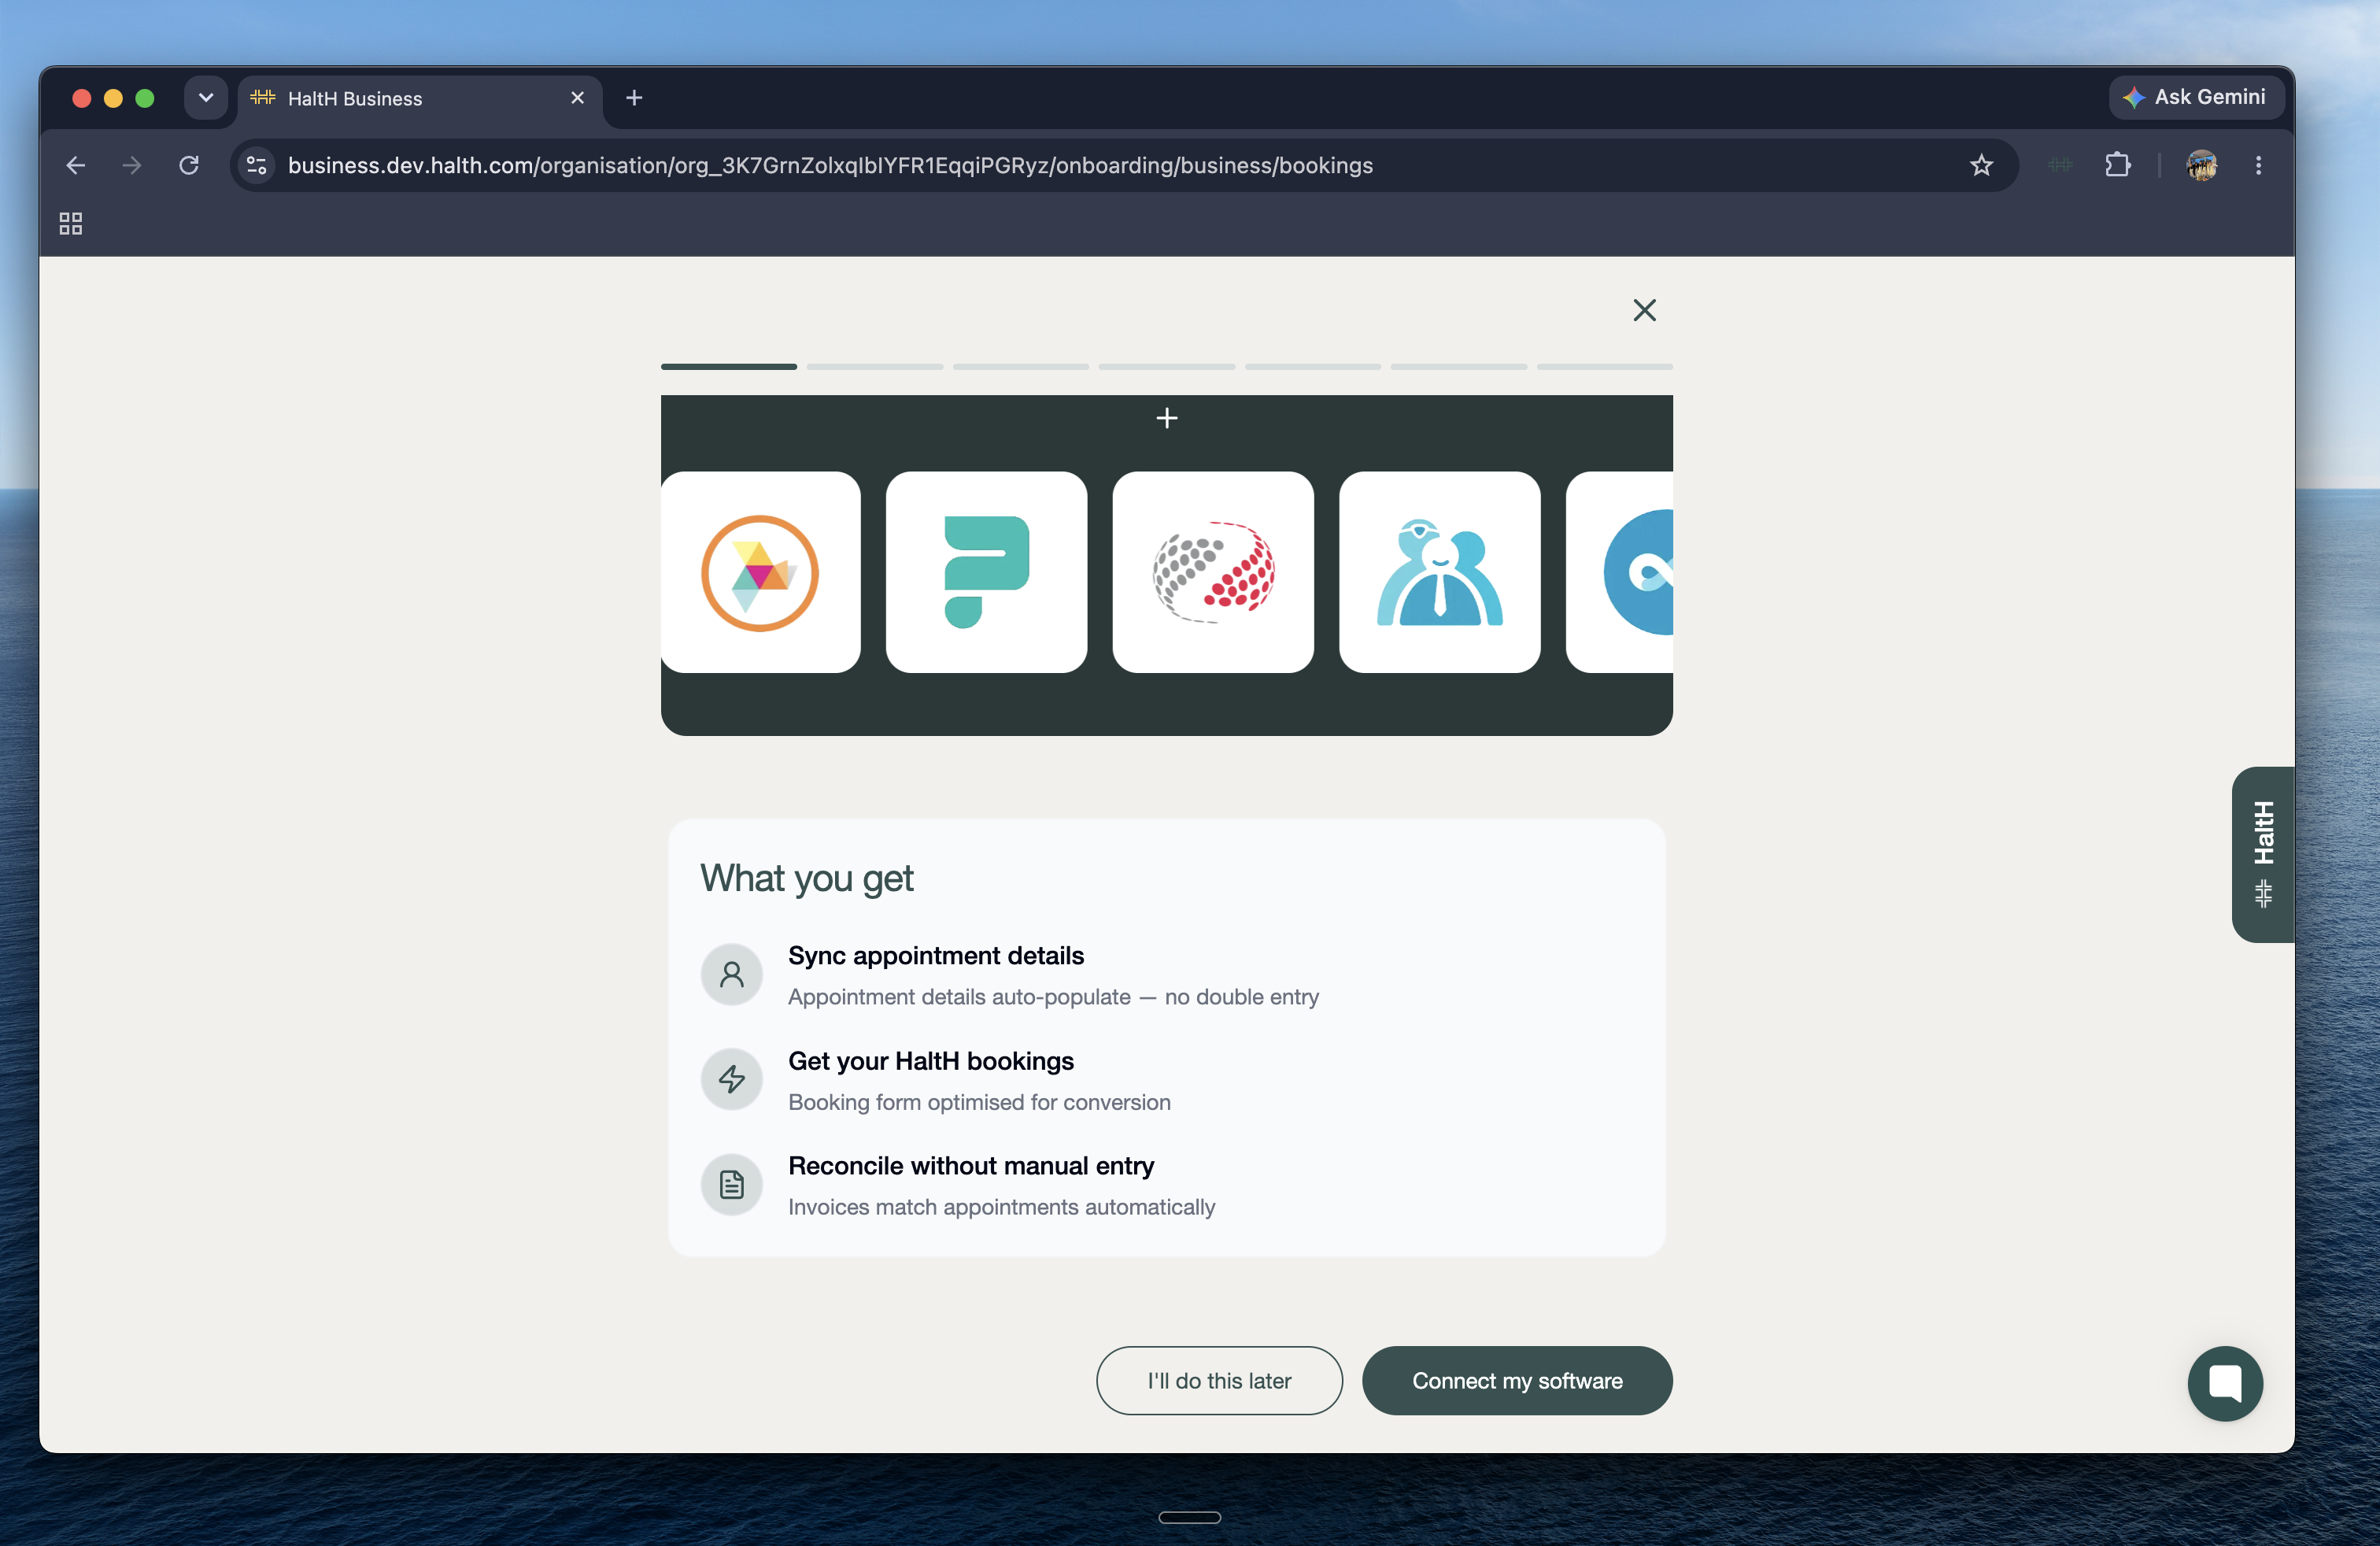
You'll see what syncing does for you. Select Connect my software, or I'll do this later to come back to it.
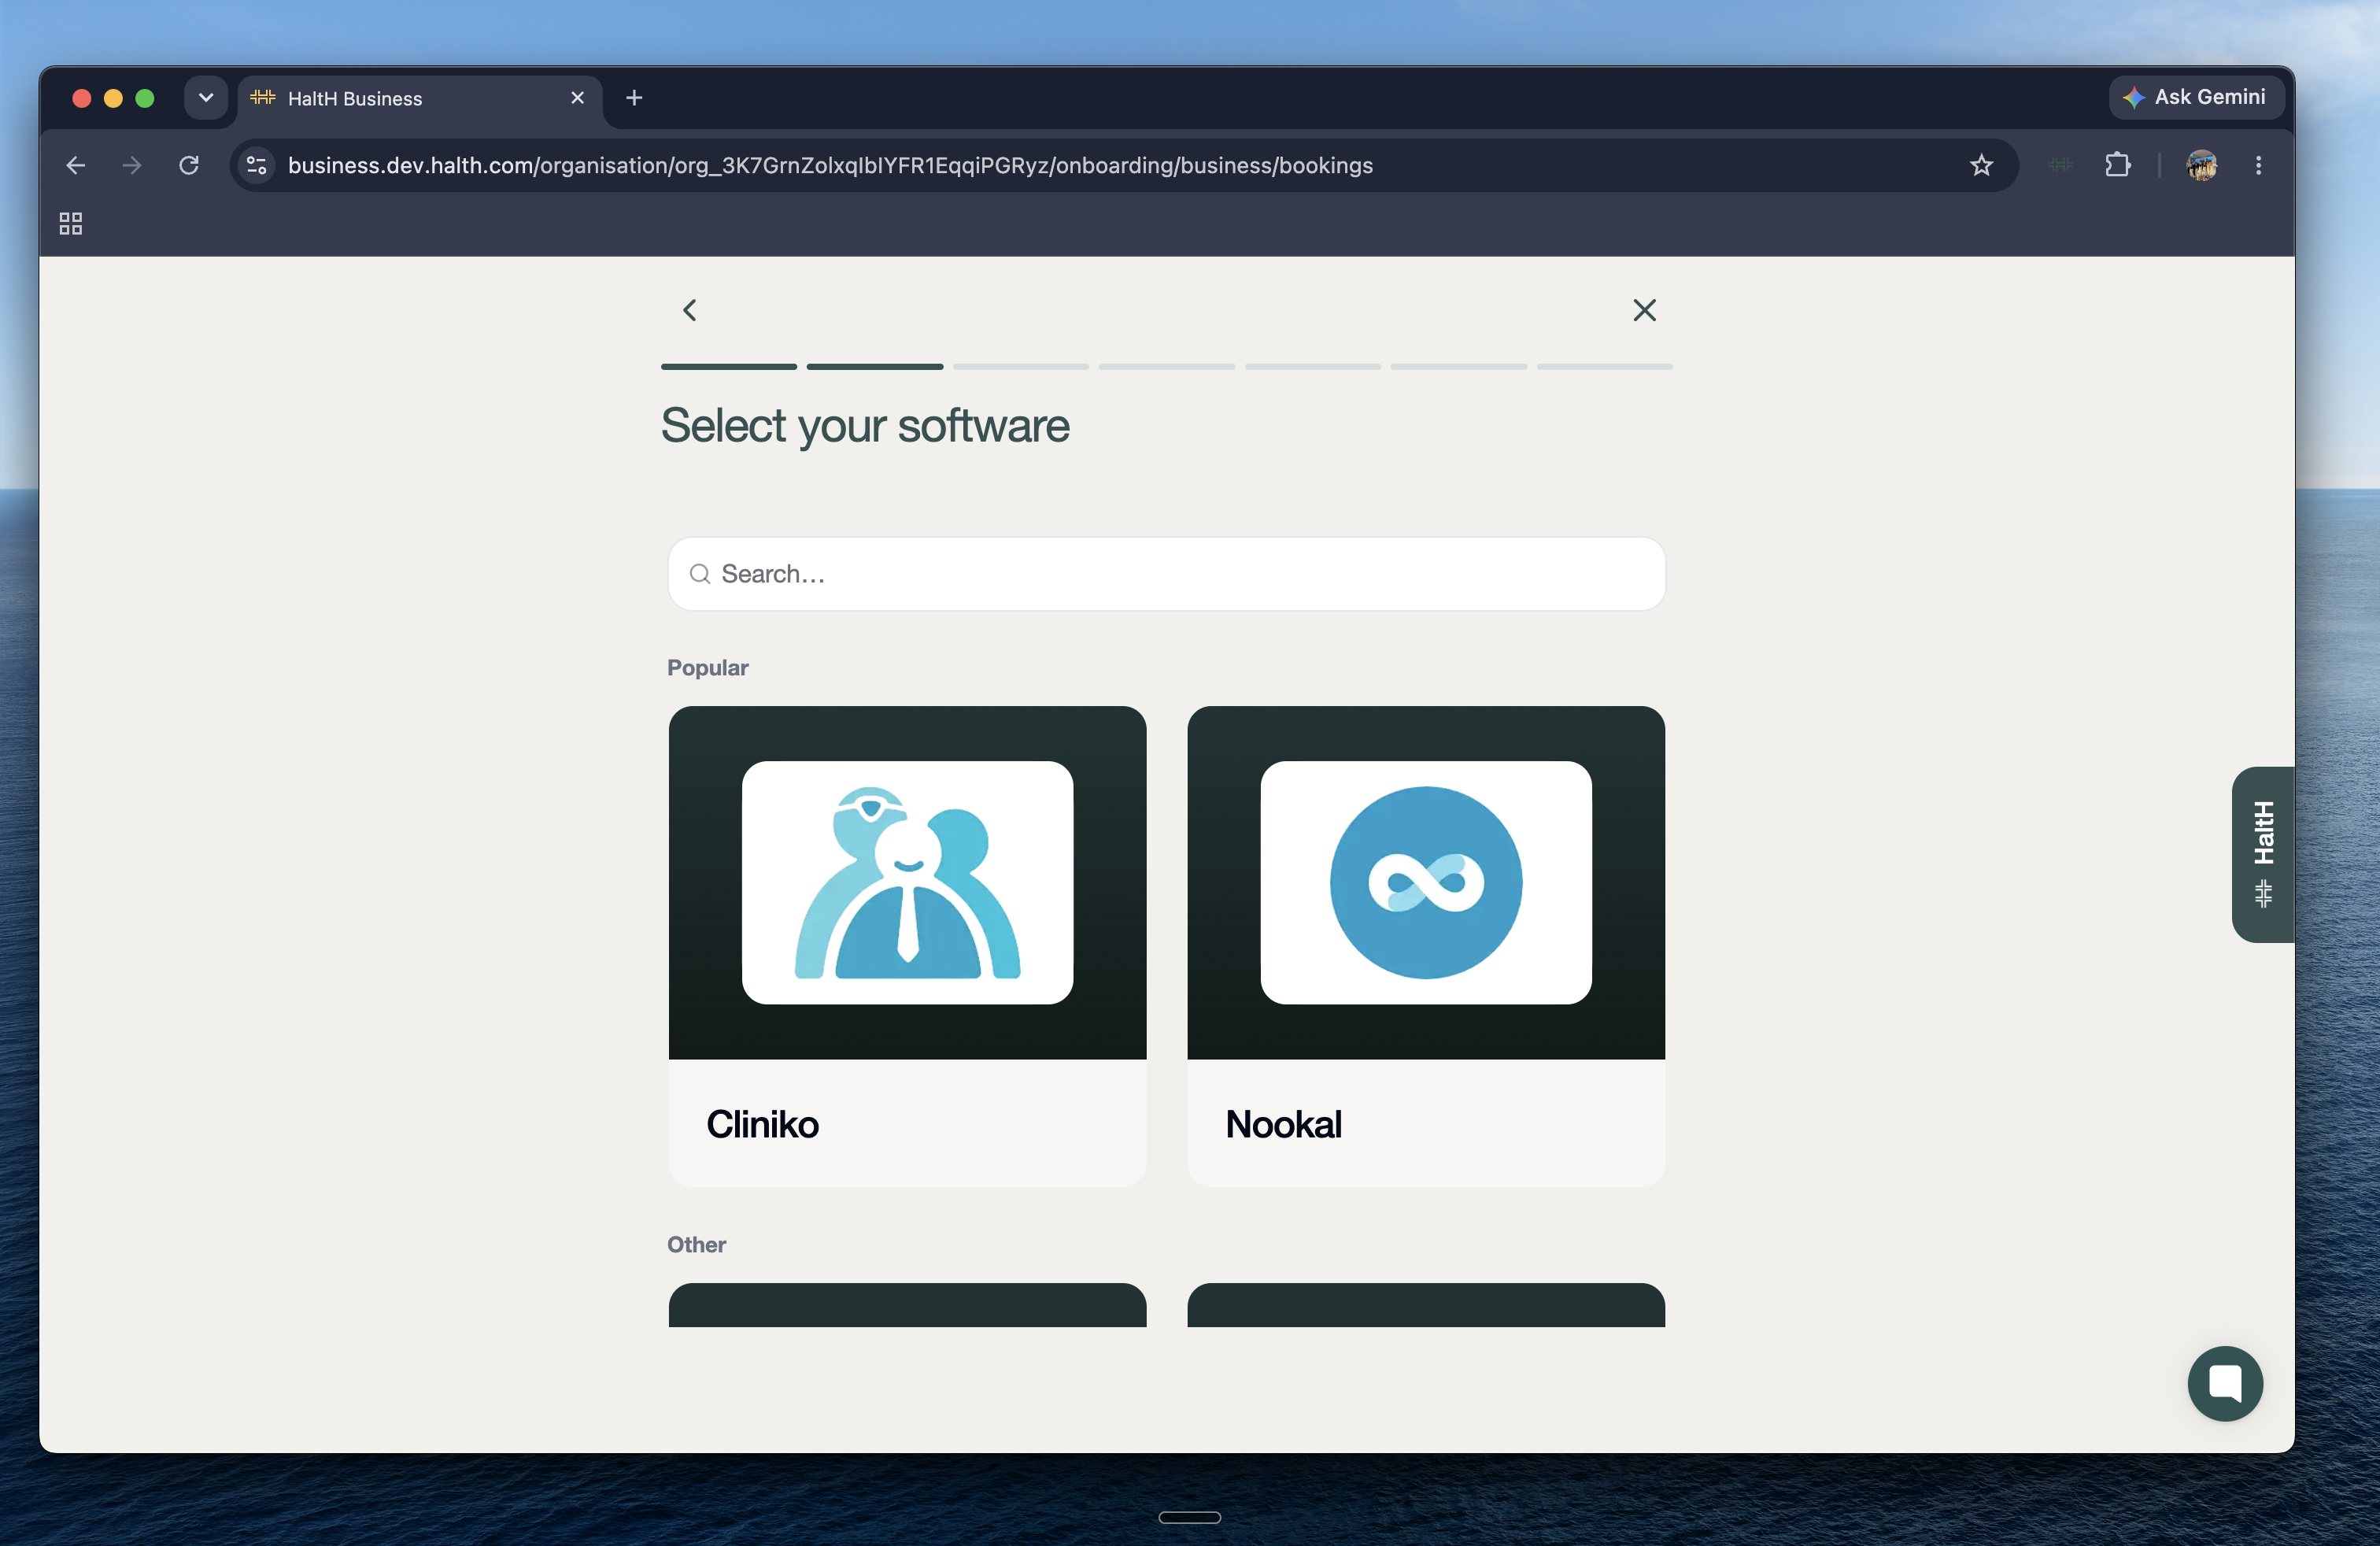
Choose your PMS from the list, or search for it.
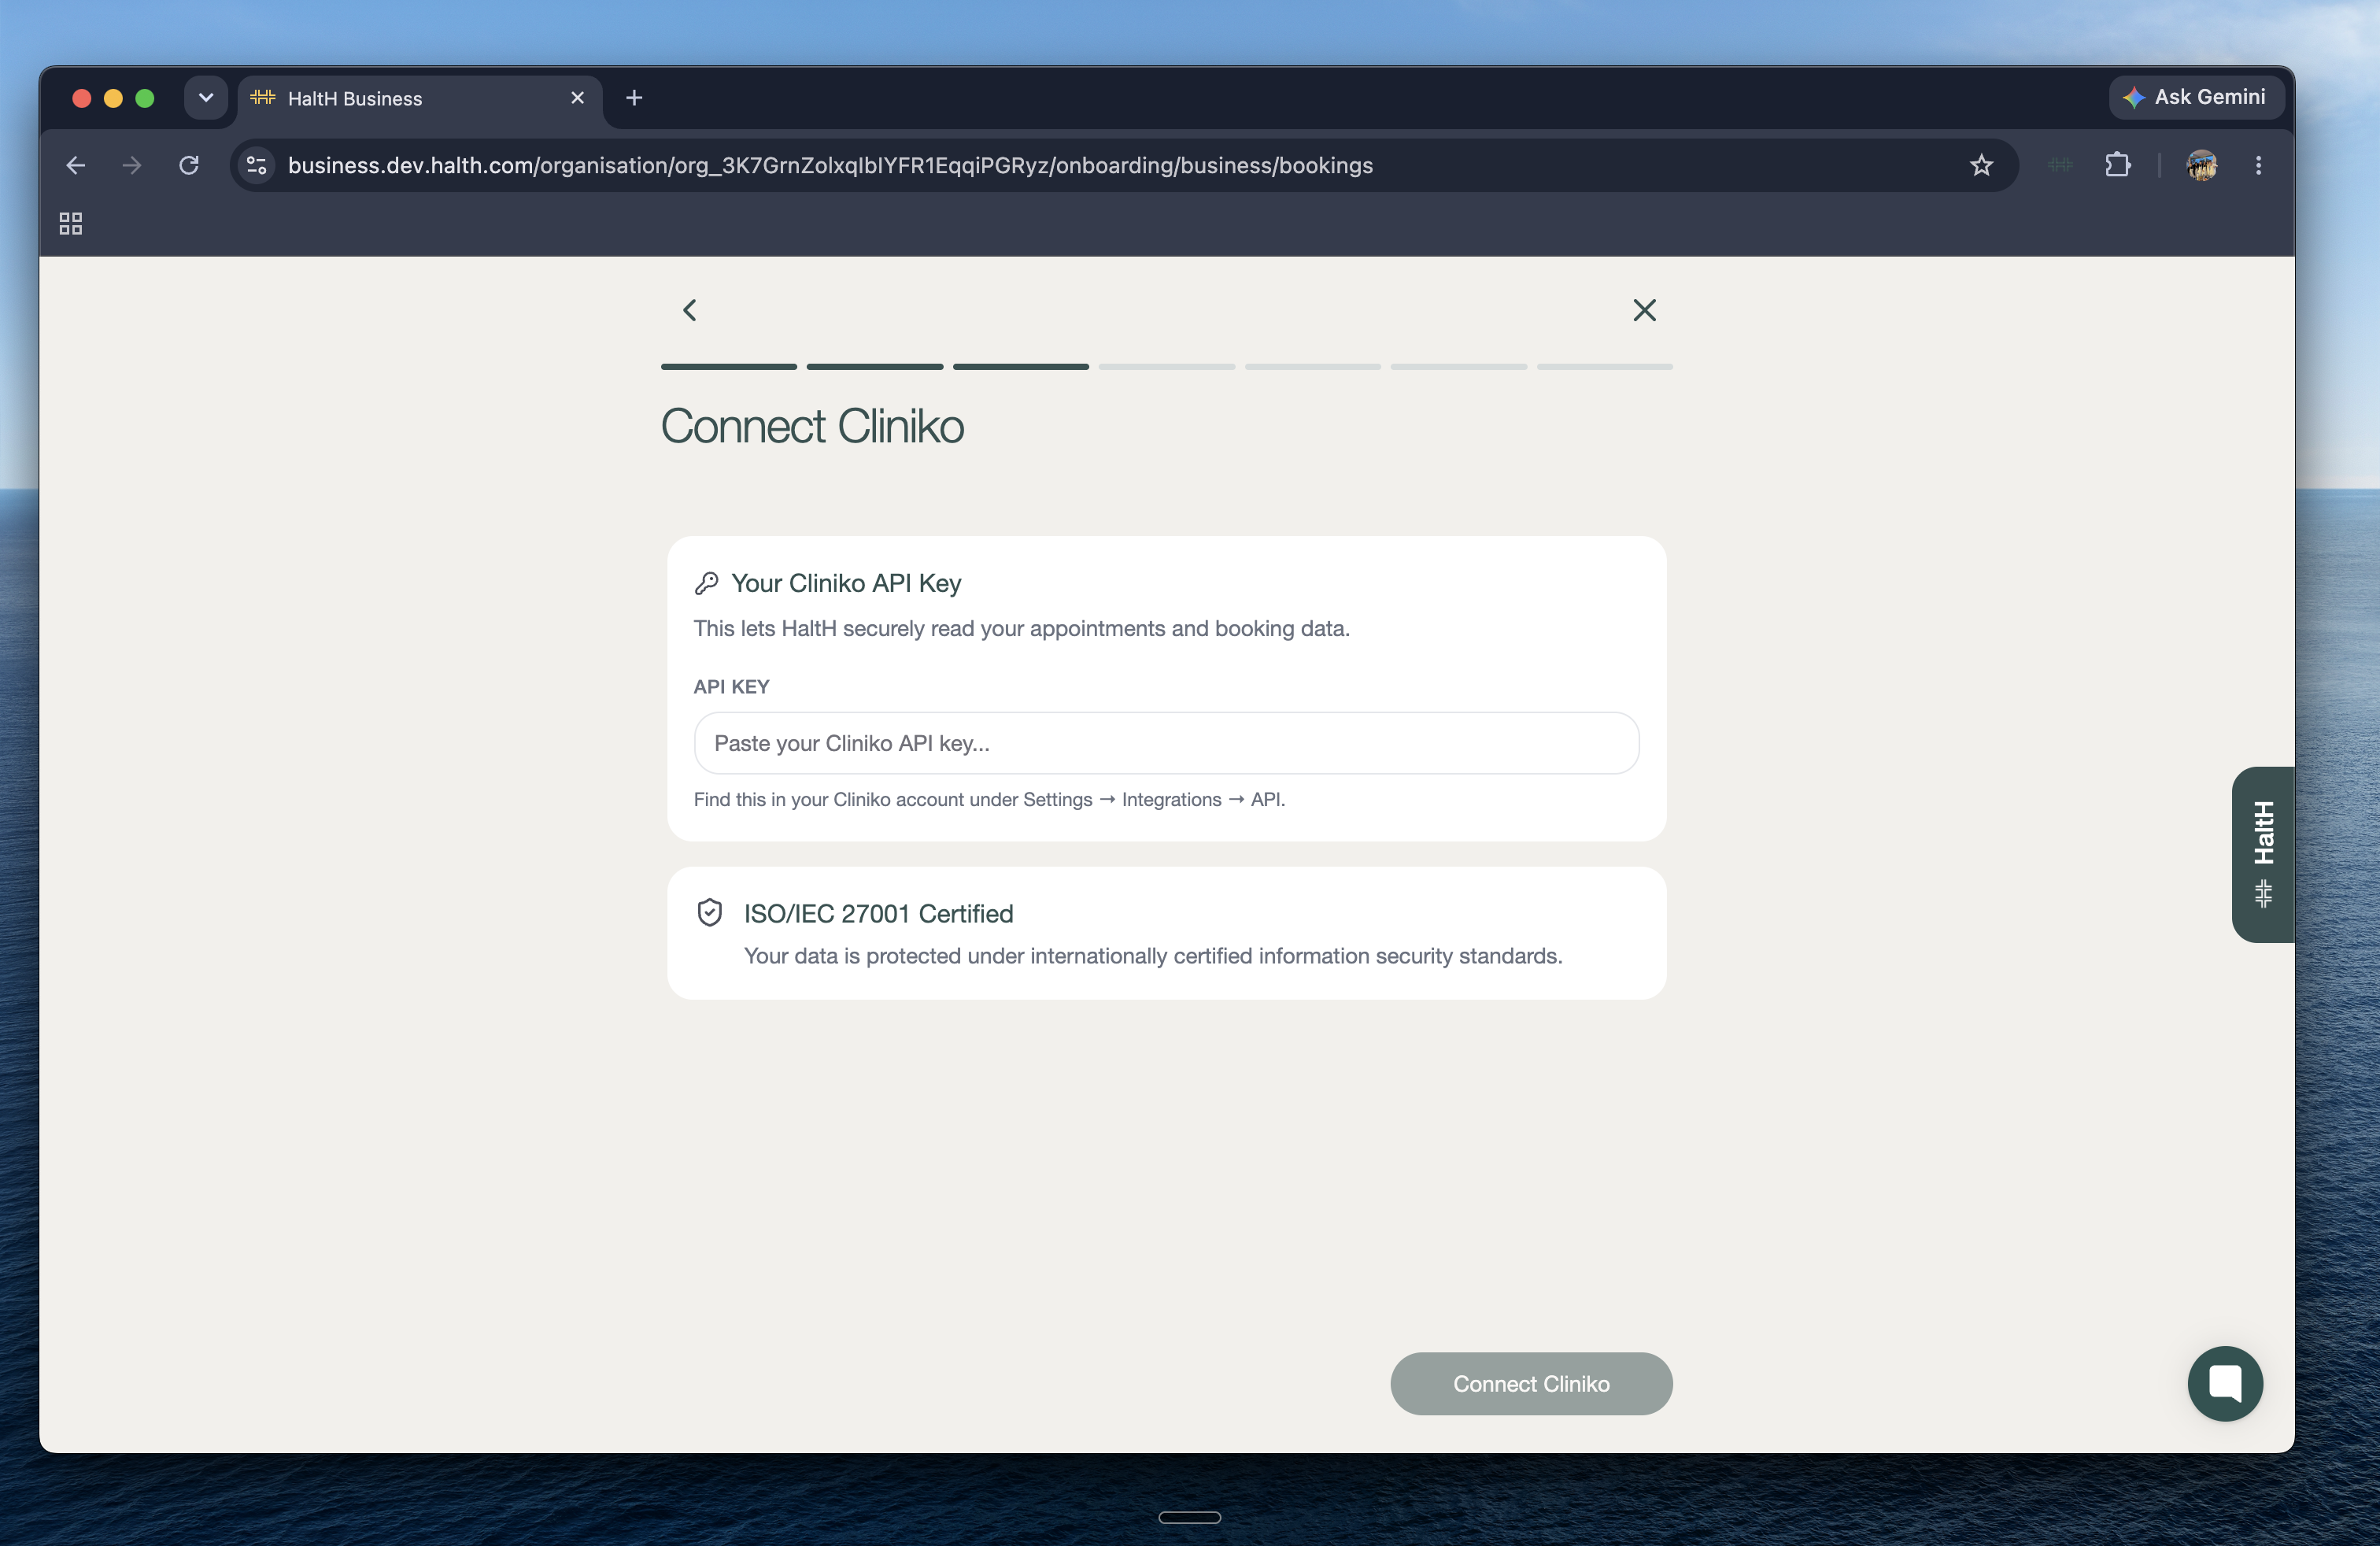
The API key lets HaltH securely read your appointments and booking data. Open your PMS in another tab:
Open the menu at the bottom left and go to My info.
Scroll down to Manage API keys.
Select Add an API key, name it HaltH, and copy the key.
Select Setup.
Scroll down to API Keys.
Generate a new API key and copy it.
Go to Settings, then Integrations.
Select API.
Create a new API key and copy it.
Back in HaltH, paste the key into the API key field and select Connect [your PMS].
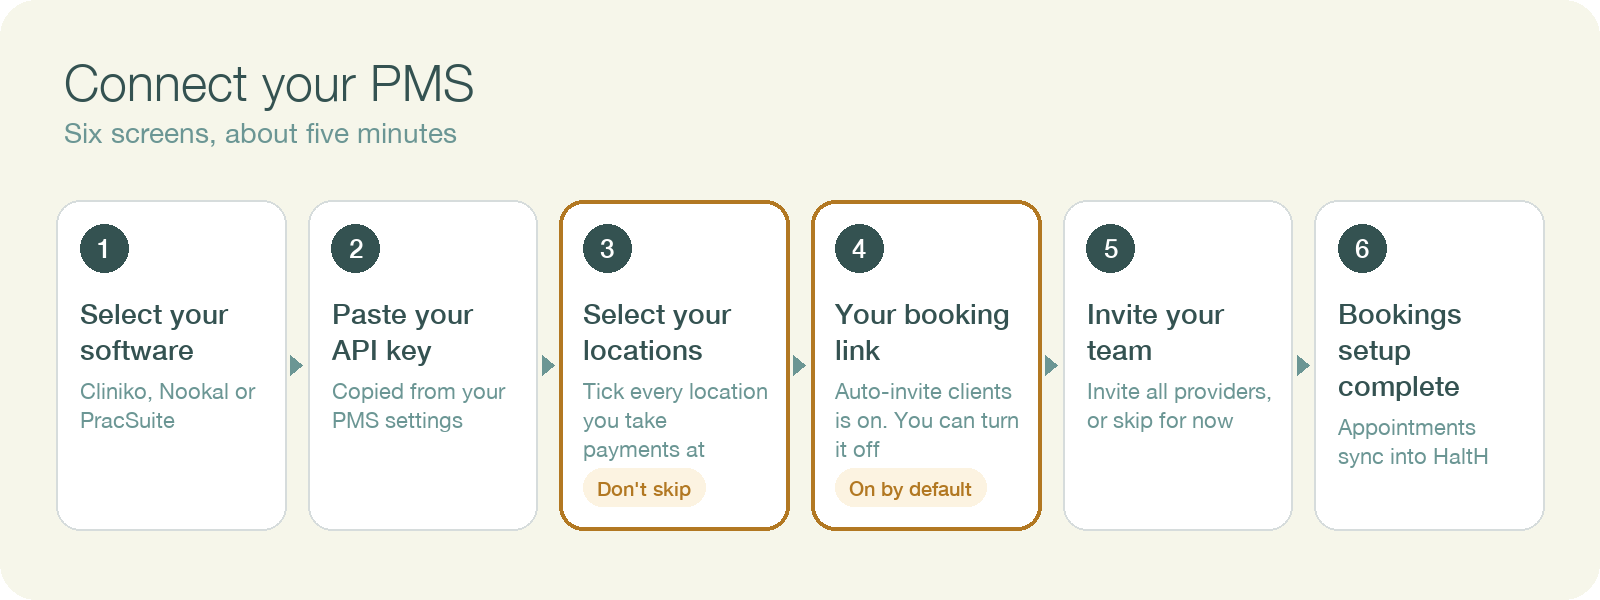
HaltH syncs your locations, clients and bookings. This takes a few seconds. When it's done, tick every location where you see clients and take payments, then select Continue.
Don't skip a location you use. Payments won't work at a location that isn't selected here, and checkout will say the location "has not been associated with the business". If that happens, here's the one-minute fix.
On Get bookings performing for you you'll see:
Your booking link. Copy it to share with clients or add to your website.
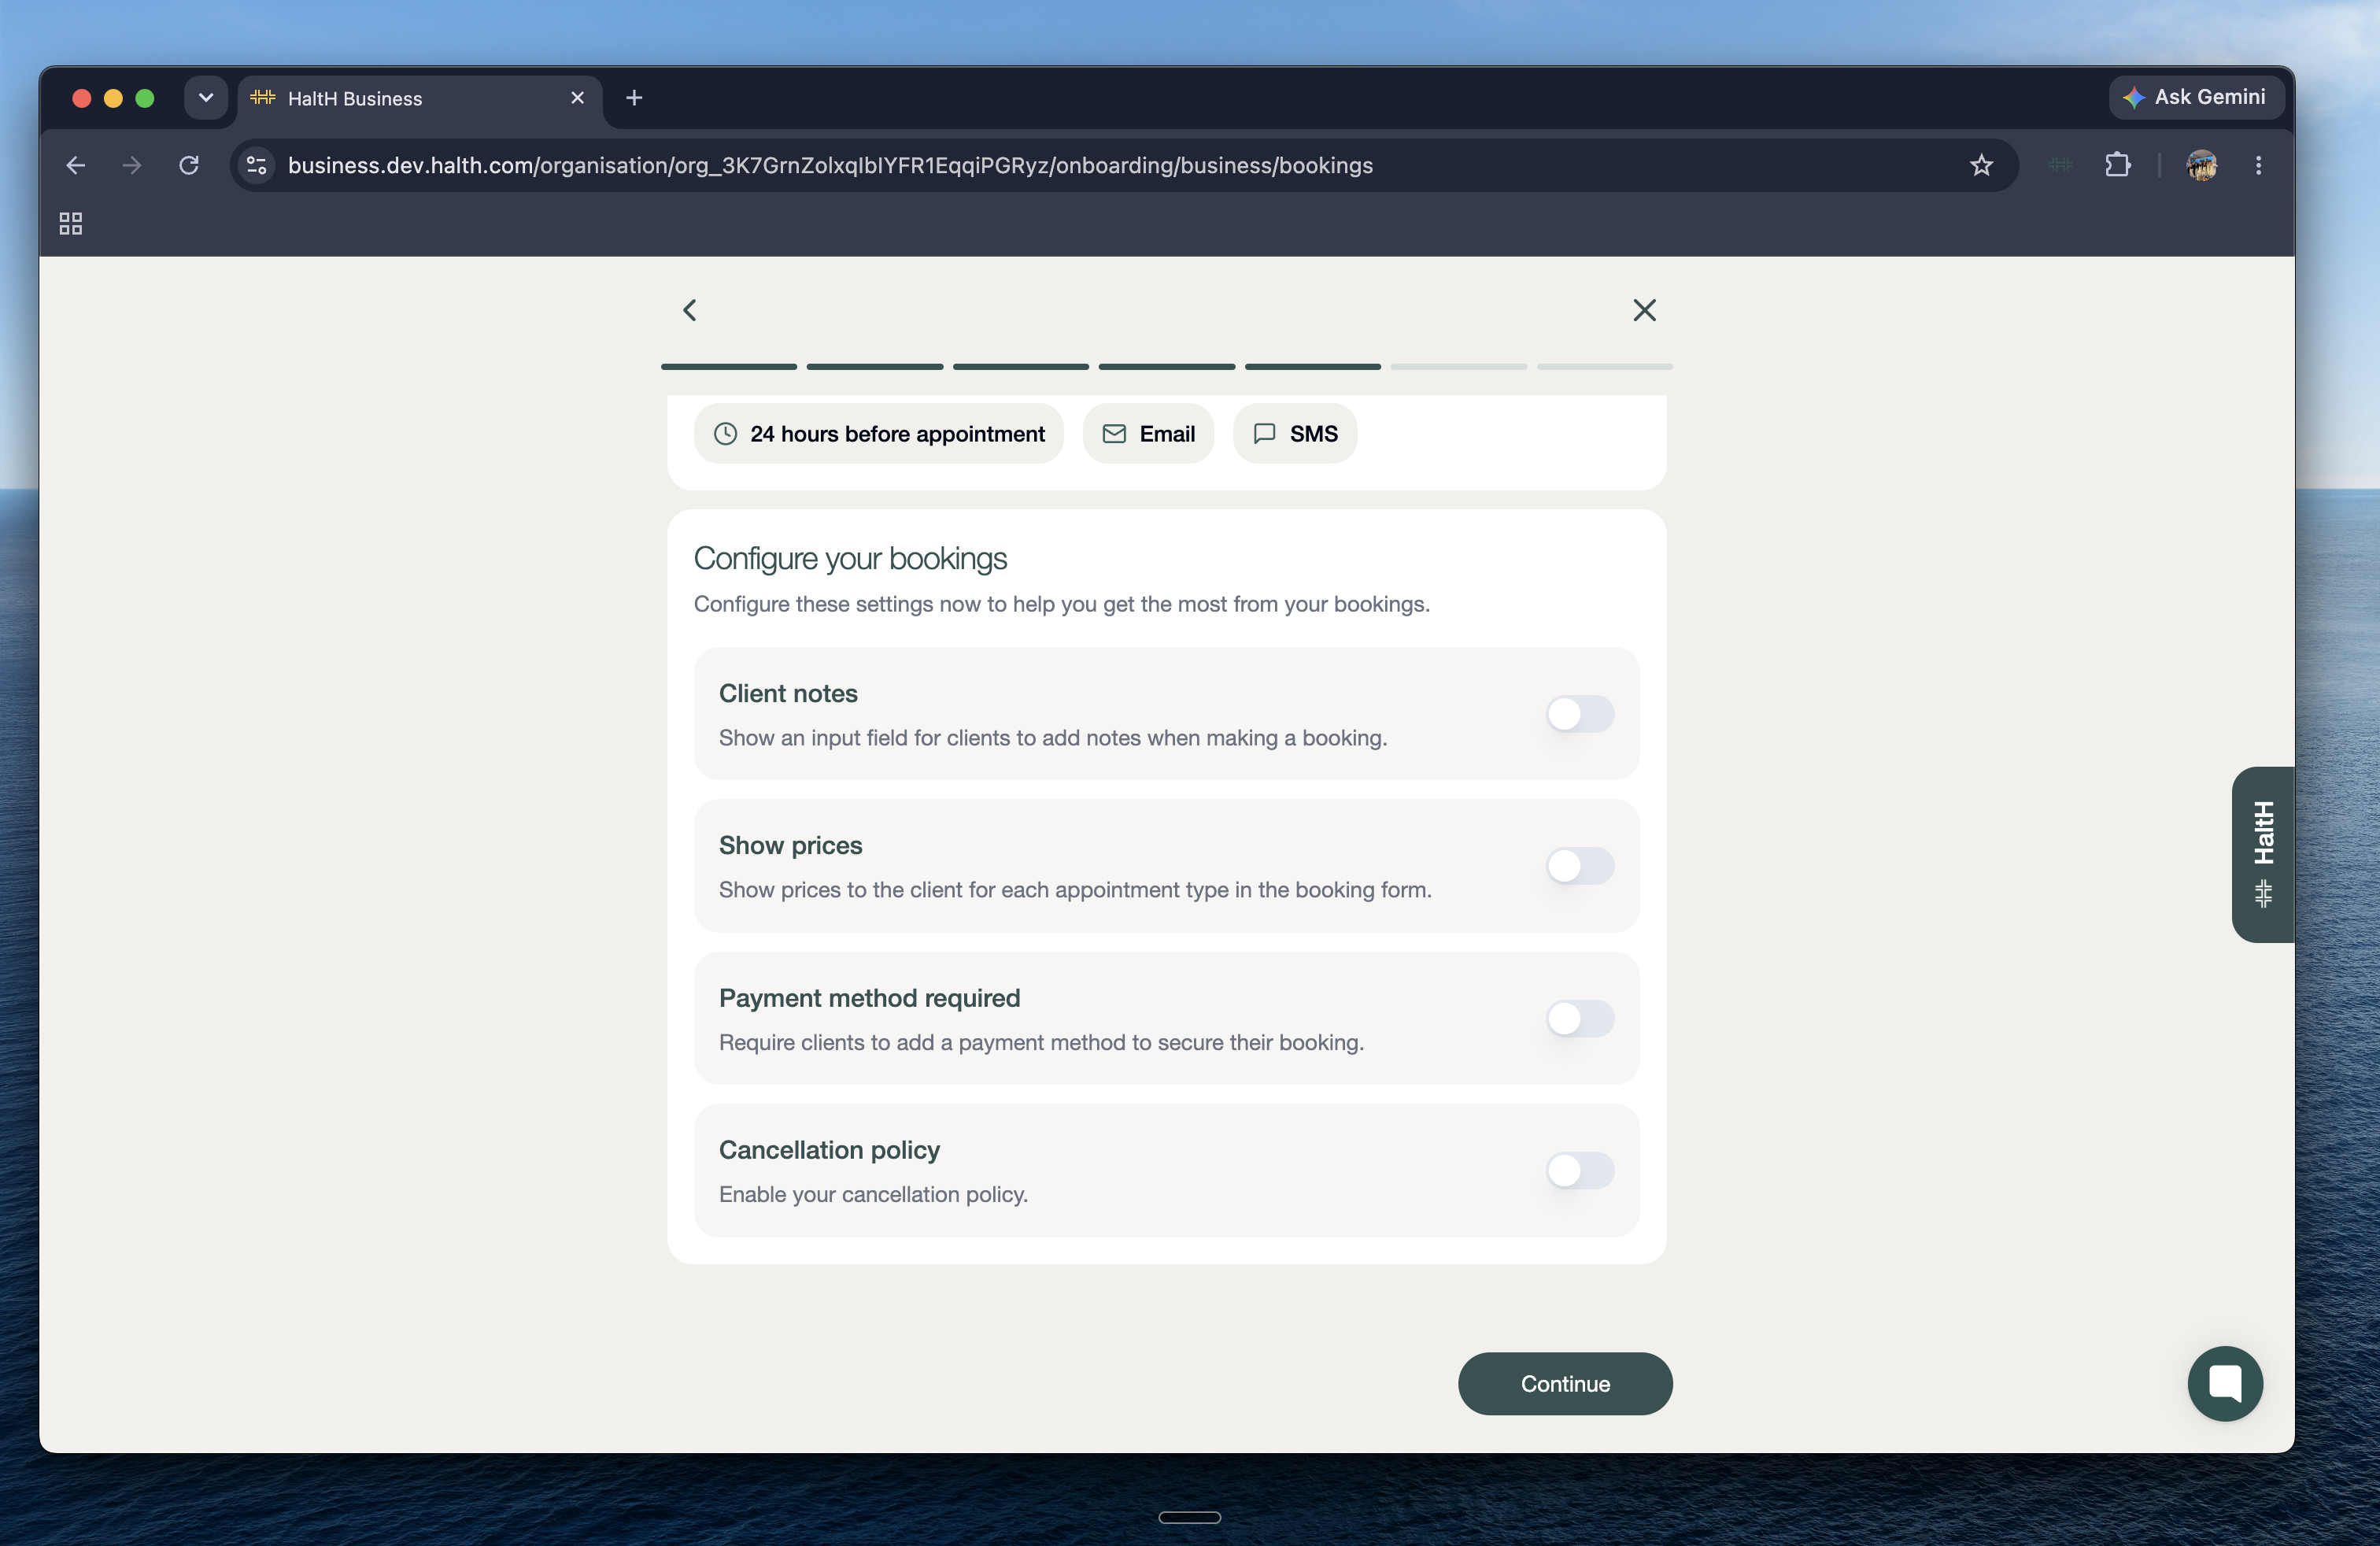
Auto-invite clients. This is on by default. HaltH will email and SMS your clients 24 hours before their appointment, inviting them to add their card and health fund to HaltH Wallet. Only clients who don't have a HaltH Wallet yet are invited. If you'd rather tell clients yourself first, switch it off here. You can turn it on any time in Connections → Client invites.
Configure your bookings. Choose whether to show Client notes and Show prices, and whether a Payment method required or Cancellation policy applies.
Select Continue.
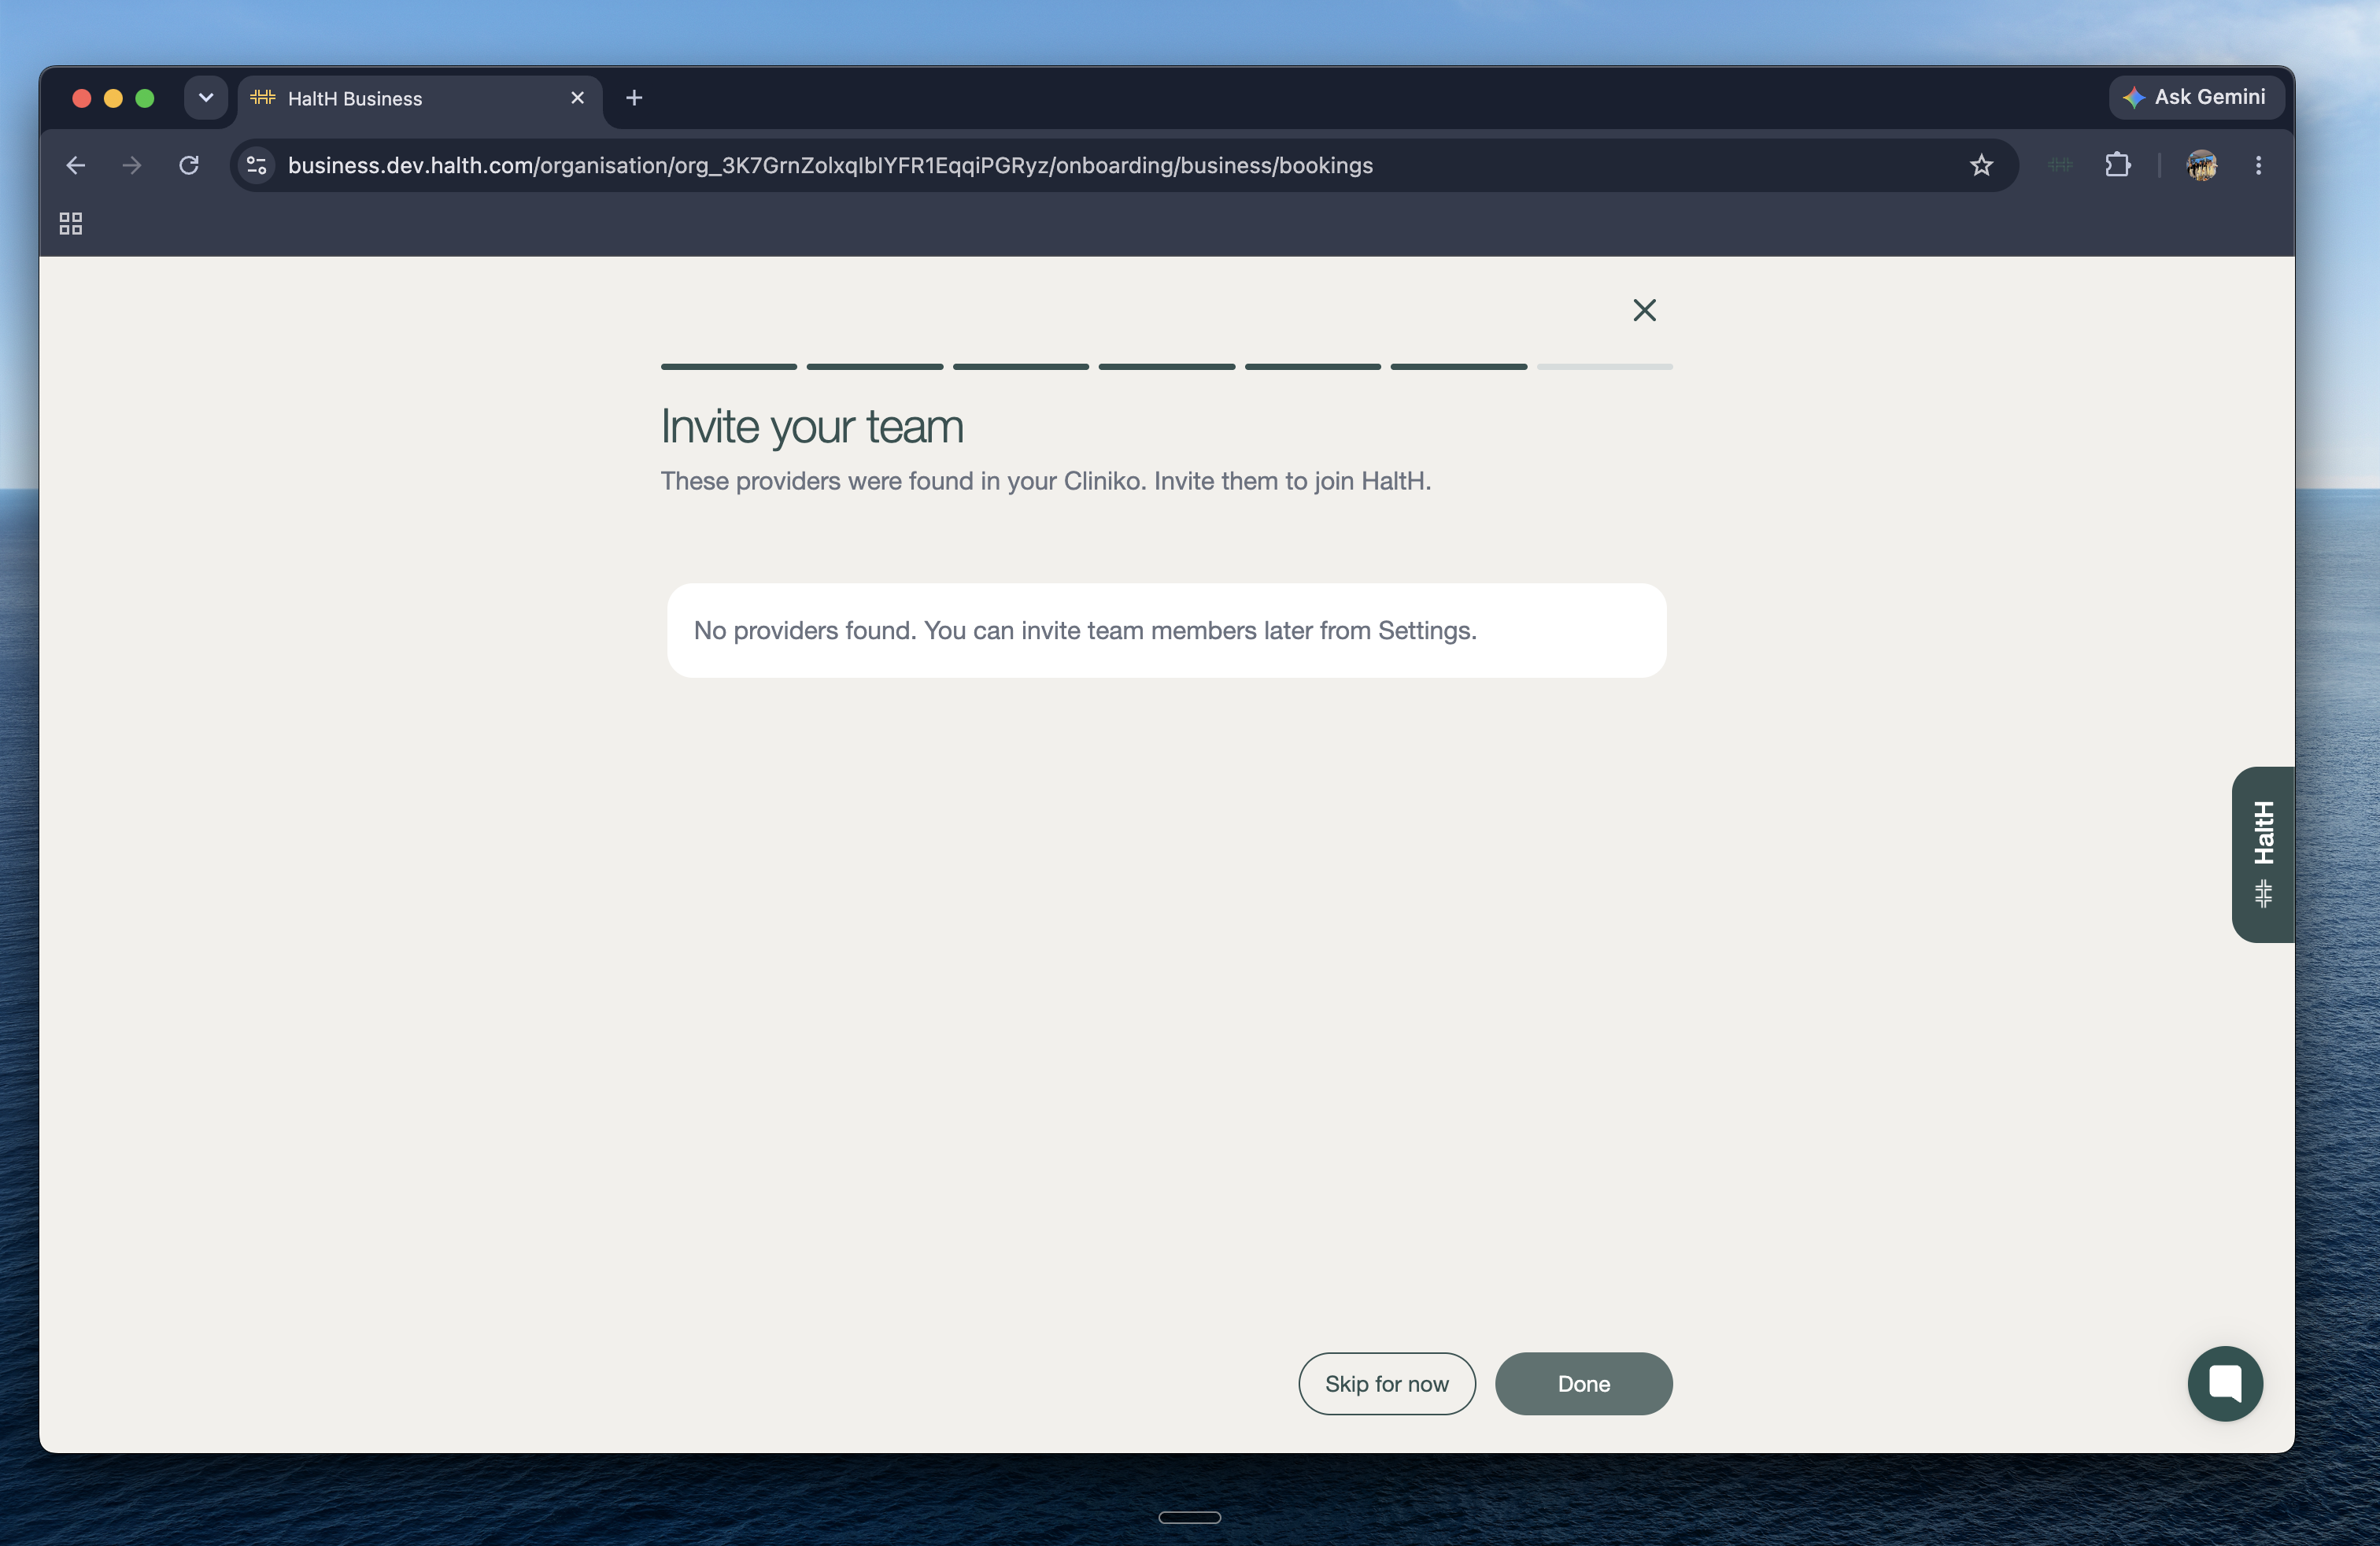
HaltH lists the providers from your PMS. Select Invite all or invite them one by one, then select Done. Each provider gets an email to set up their own profile, which they'll need before they can claim private health or Medicare. Not ready? Select Skip for now and invite them later from Settings → Team.
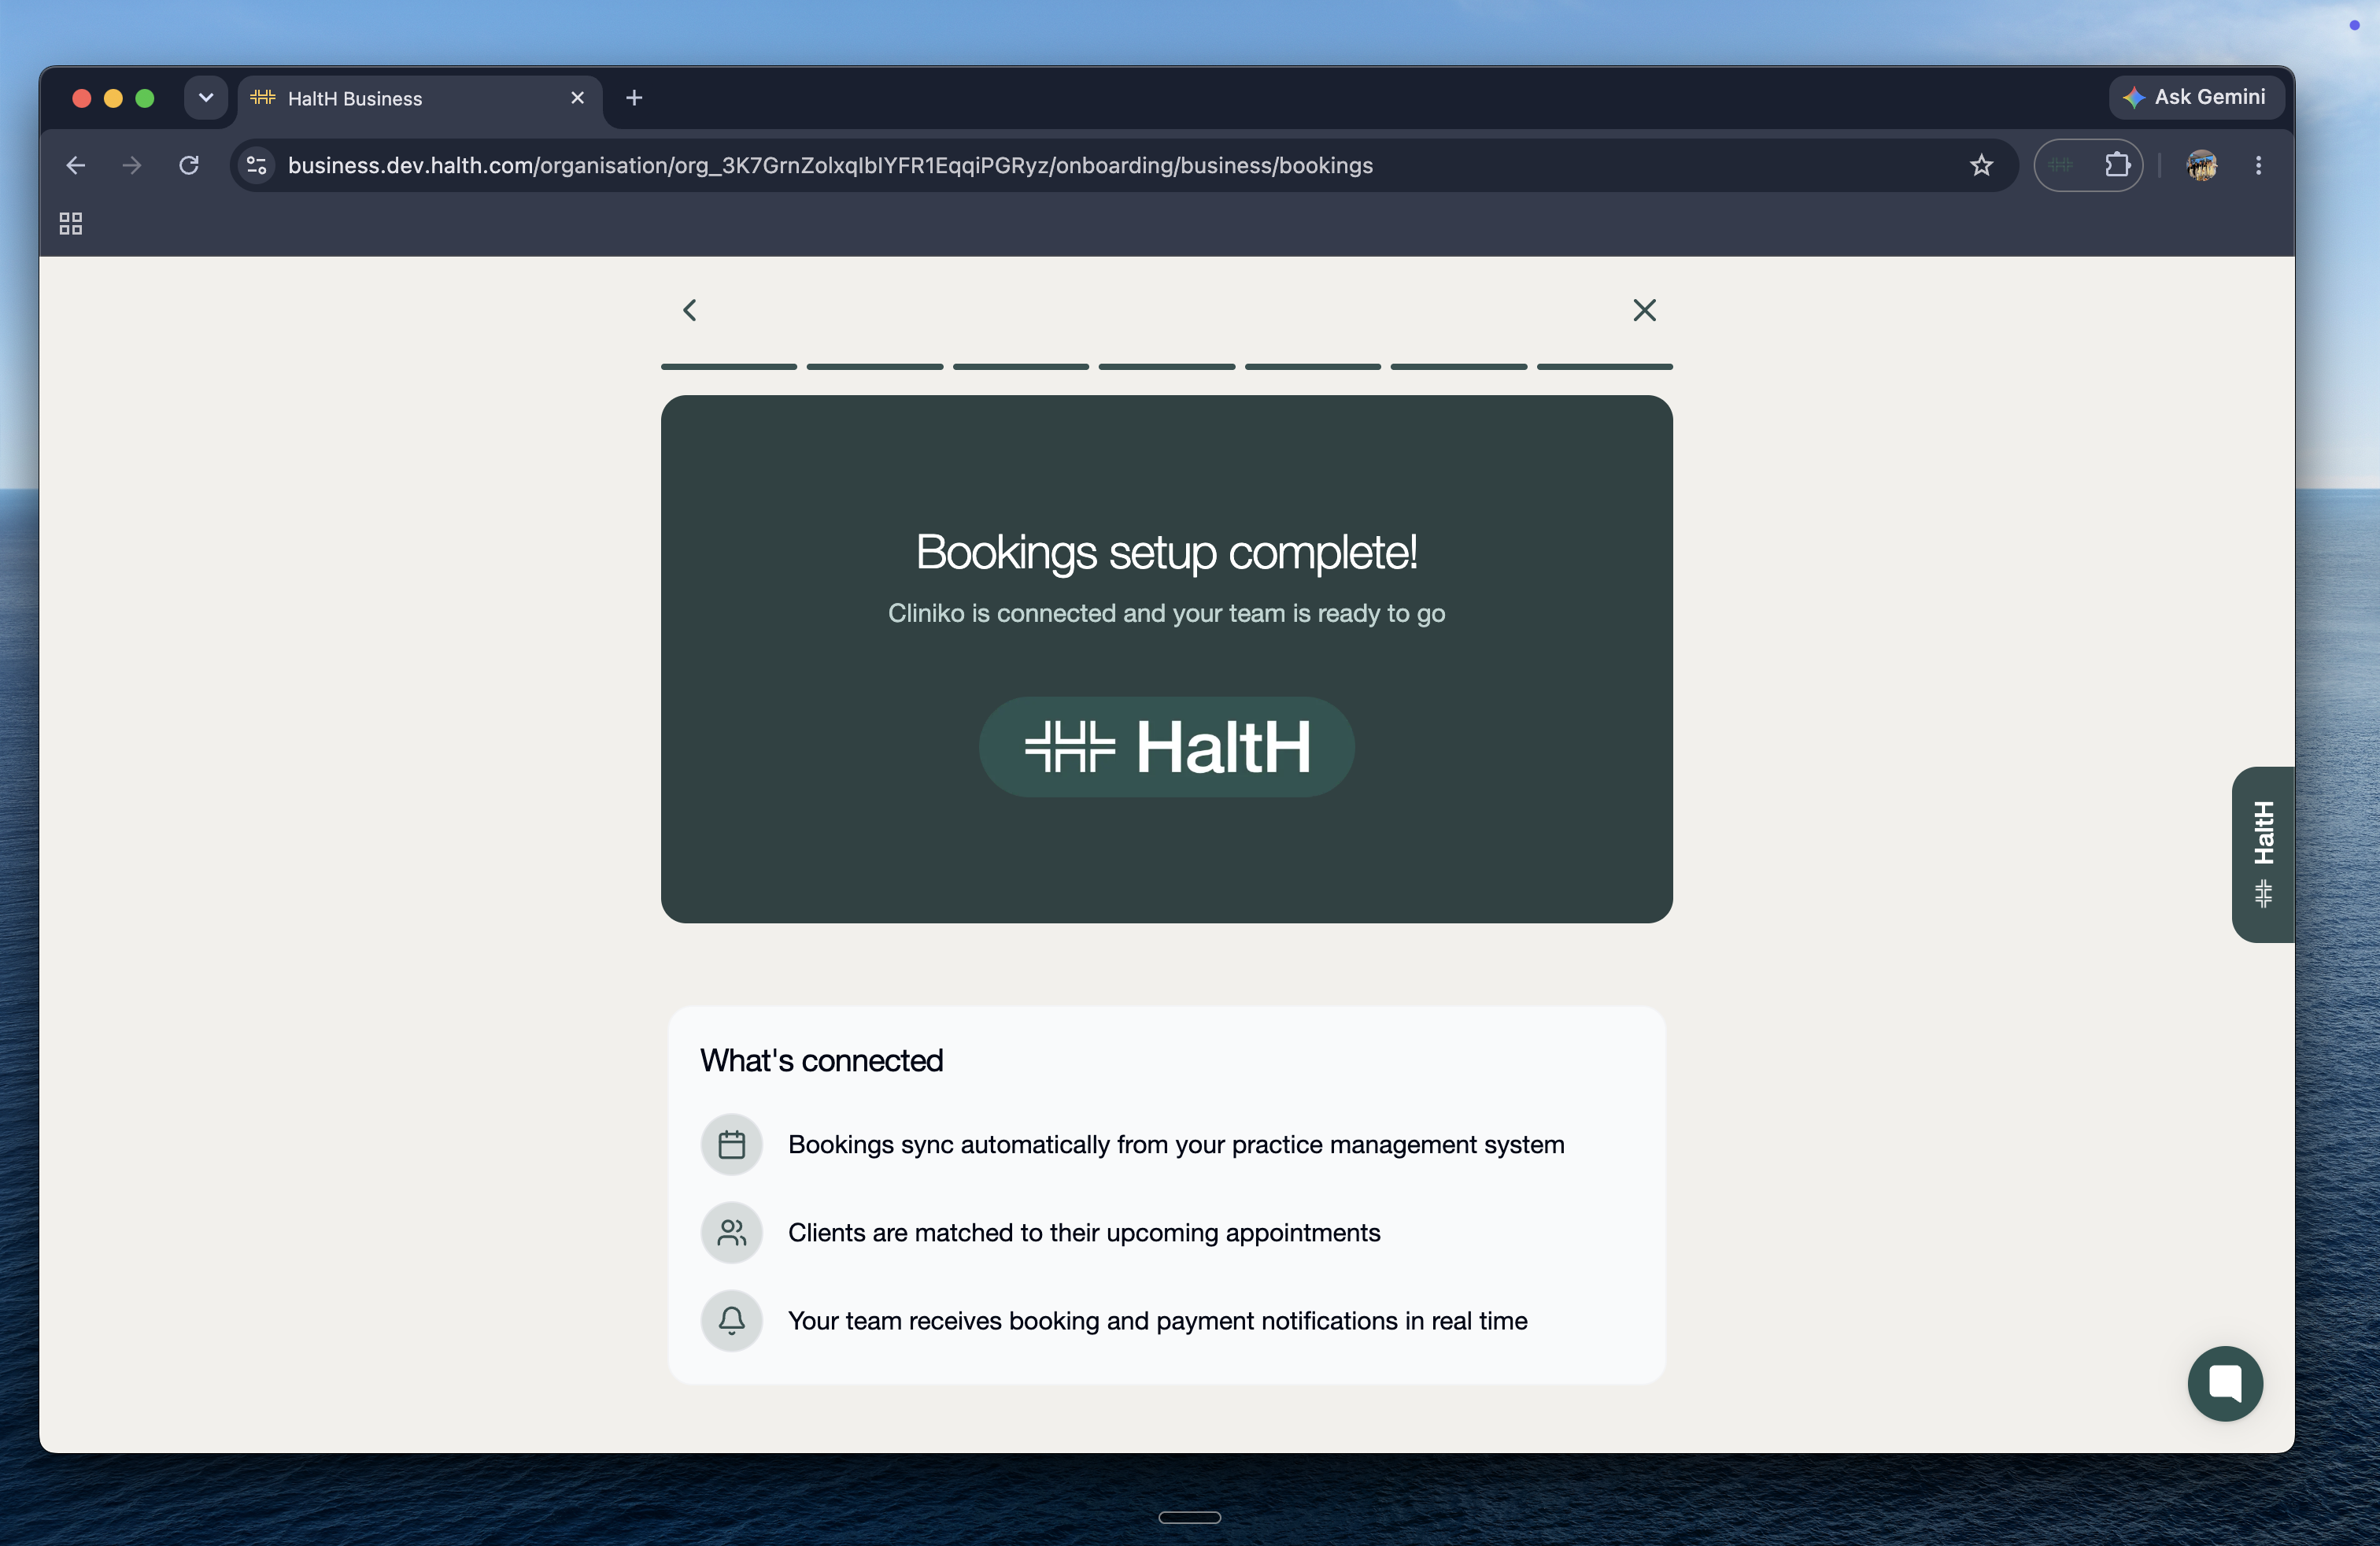
You'll see Bookings setup complete! Appointments now sync from your PMS automatically.
If your API key is deleted or changed in your PMS, Home shows Your PMS sync failed. Select Reconnect, create a new API key in your PMS (step 3 above) and paste it in. You can also update it any time in Connections → Practice software.
With payments and your PMS done, Set up health funding is now unlocked on your checklist. Set up health funding →